                                                                                              Mavic 2 Pro/Zoom User Manual
Linking the Remote Controller
The remote controller is linked to your aircraft before delivery. Linking is only required when using a new
remote controller for the first time. Follow these steps to link a new remote controller:
1. Power on the aircraft and the remote controller.
2. Launch DJI GO 4.
3. Enter “Camera” and tap on        and then tap the button to confirm. The remote controller is ready
   to link.
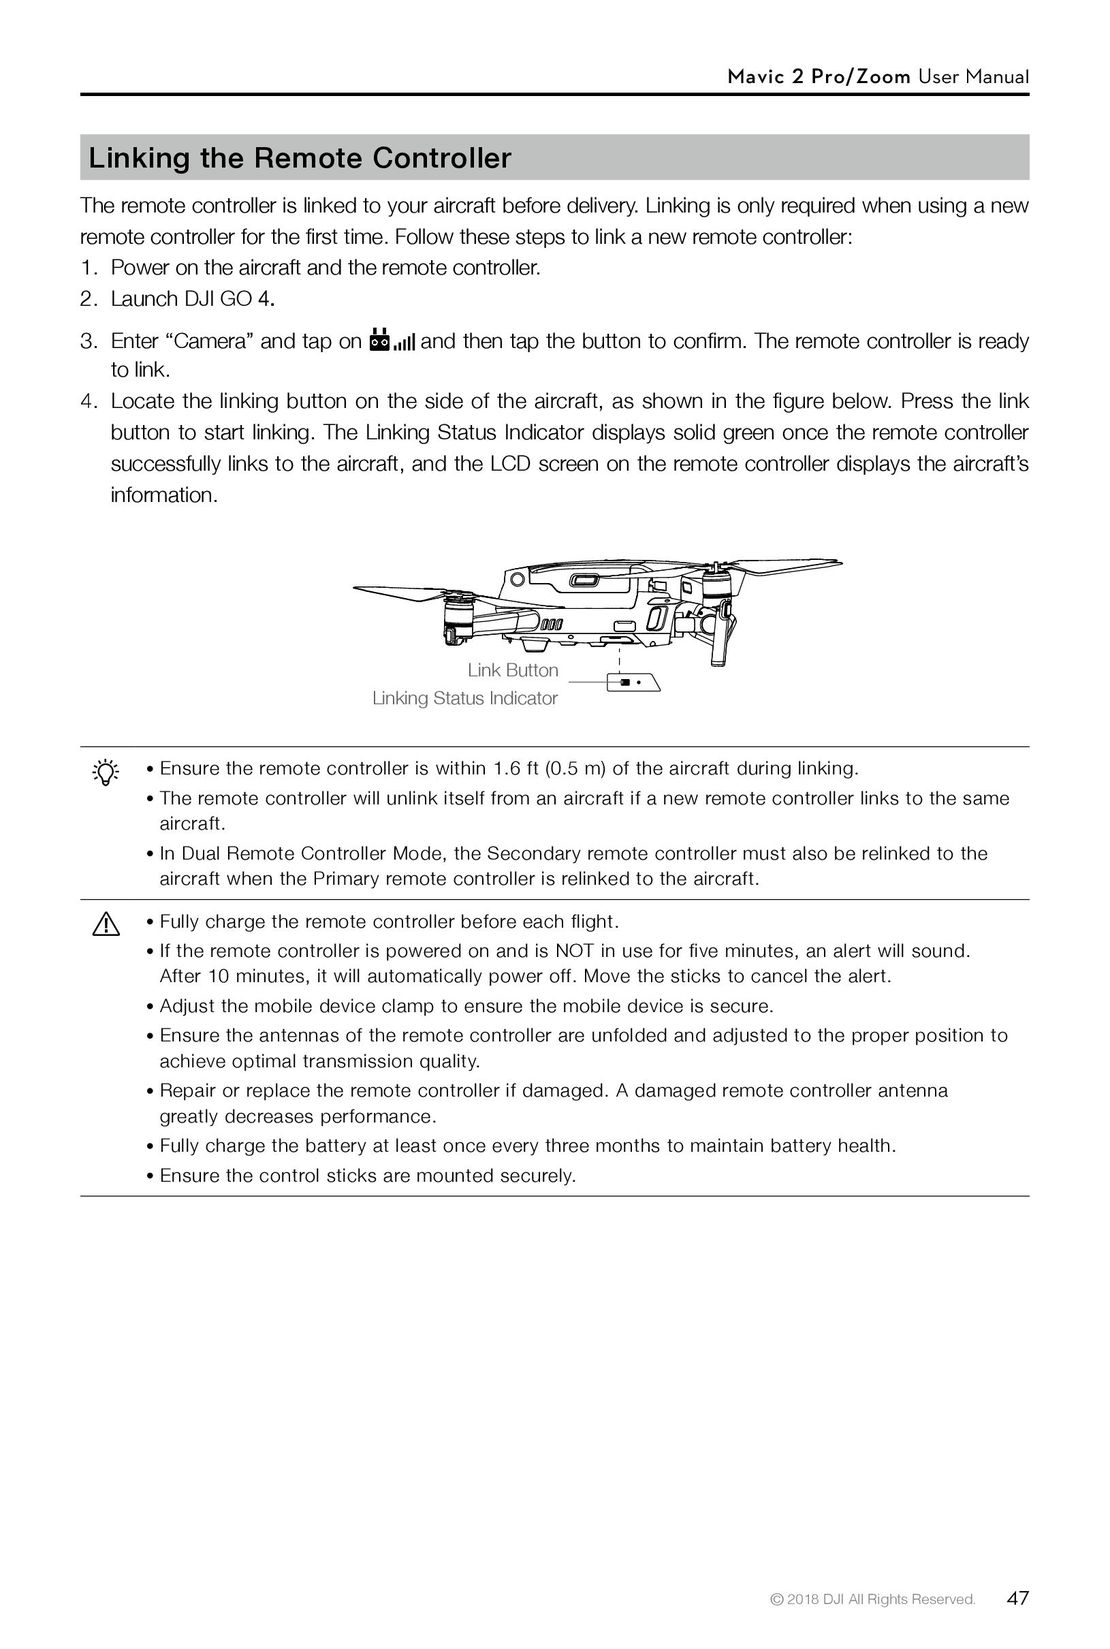
4. Locate the linking button on the side of the aircraft, as shown in the figure below. Press the link
   button to start linking. The Linking Status Indicator displays solid green once the remote controller
   successfully links to the aircraft, and the LCD screen on the remote controller displays the aircraft’s
   information.
                                            Link Button
                                  Linking Status Indicator
         Ensure the remote controller is within 1.6 ft (0.5 m) of the aircraft during linking.
         The remote controller will unlink itself from an aircraft if a new remote controller links to the same
         aircraft.
         In Dual Remote Controller Mode, the Secondary remote controller must also be relinked to the
         aircraft when the Primary remote controller is relinked to the aircraft.
         Fully charge the remote controller before each flight.
         If the remote controller is powered on and is NOT in use for five minutes, an alert will sound.
         After 10 minutes, it will automatically power off. Move the sticks to cancel the alert.
         Adjust the mobile device clamp to ensure the mobile device is secure.
         Ensure the antennas of the remote controller are unfolded and adjusted to the proper position to
         achieve optimal transmission quality.
         Repair or replace the remote controller if damaged. A damaged remote controller antenna
         greatly decreases performance.
         Fully charge the battery at least once every three months to maintain battery health.
         Ensure the control sticks are mounted securely.
                                                                                  © 2018 DJI All Rights Reserved.    47
 42
42 43
43 44
44 45
45 46
46 48
48 49
49 50
50 51
51 52
52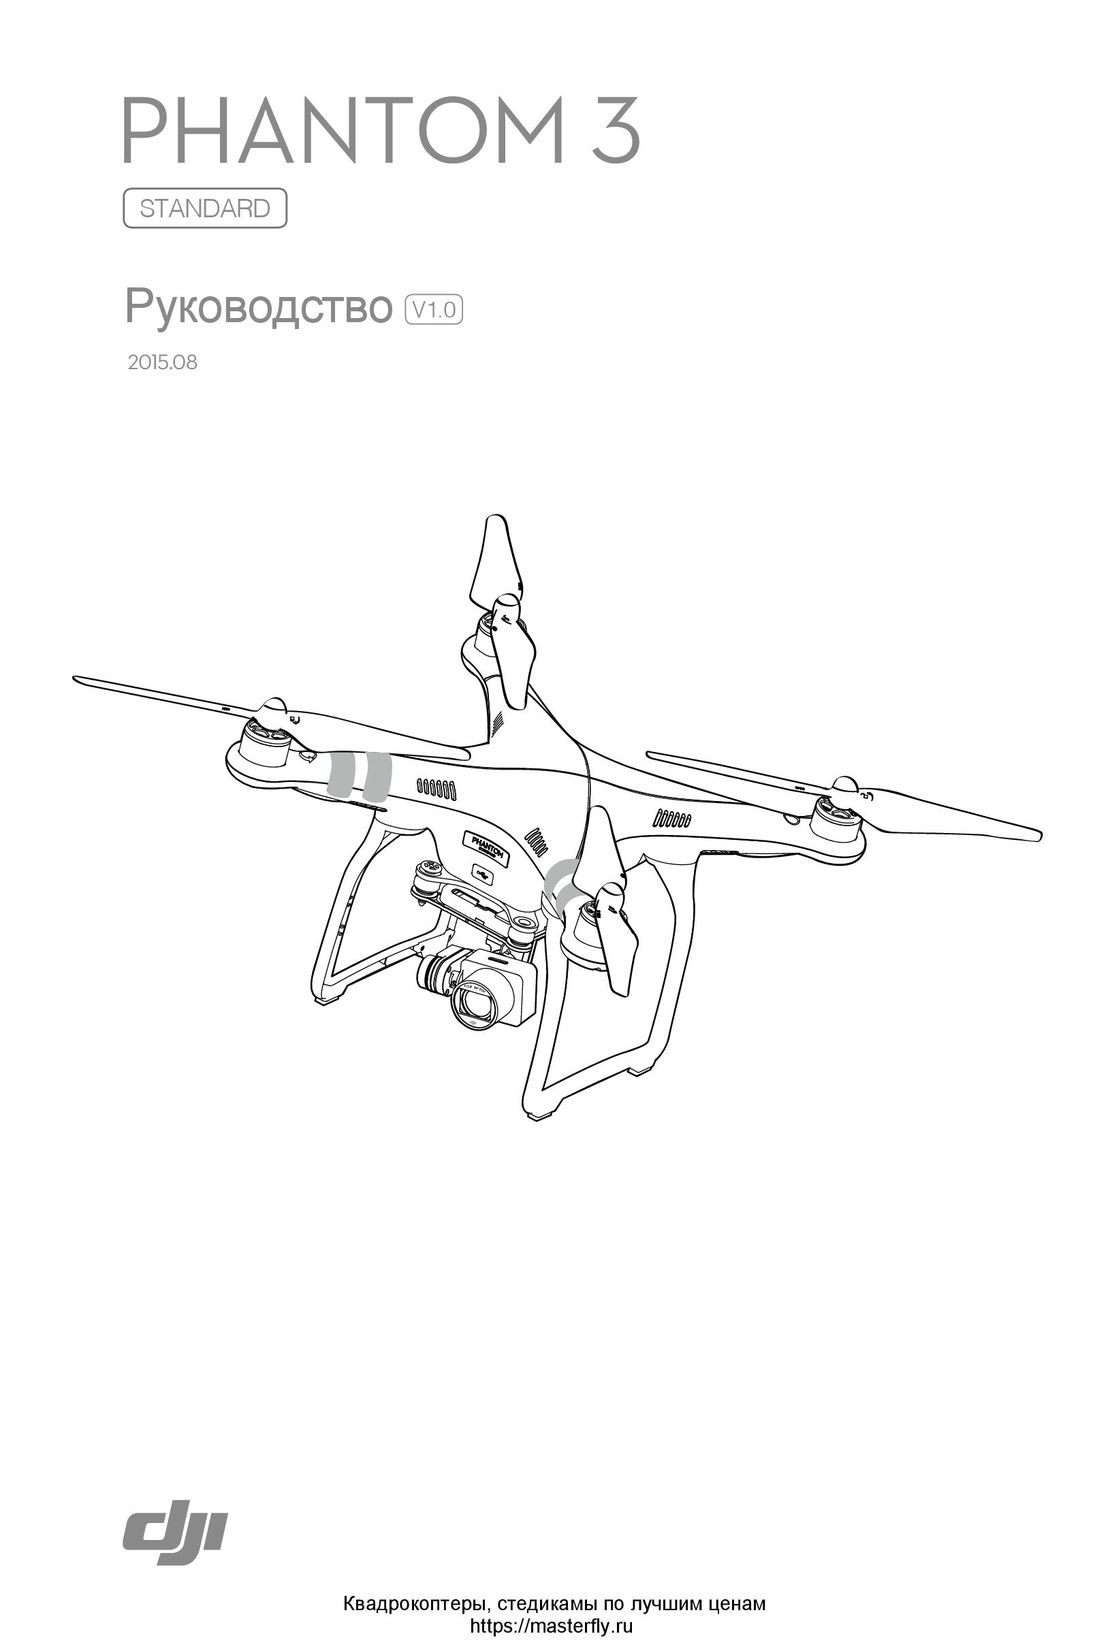 DJI Phantom 3 Standard инструкция на русском
 DJI Phantom 4 Pro Plus инструкция на русском
 DJI Phantom 3 Advanced инструкция на русском
 Syma X54HW X54HC инструкция на русском
 Syma X5UW инструкция на русском
 DJI Mavic Pro и Pro Platinum инструкция на русском