                                                                                             Mavic 2 Pro/Zoom User Manual
Pre-Flight Checklist
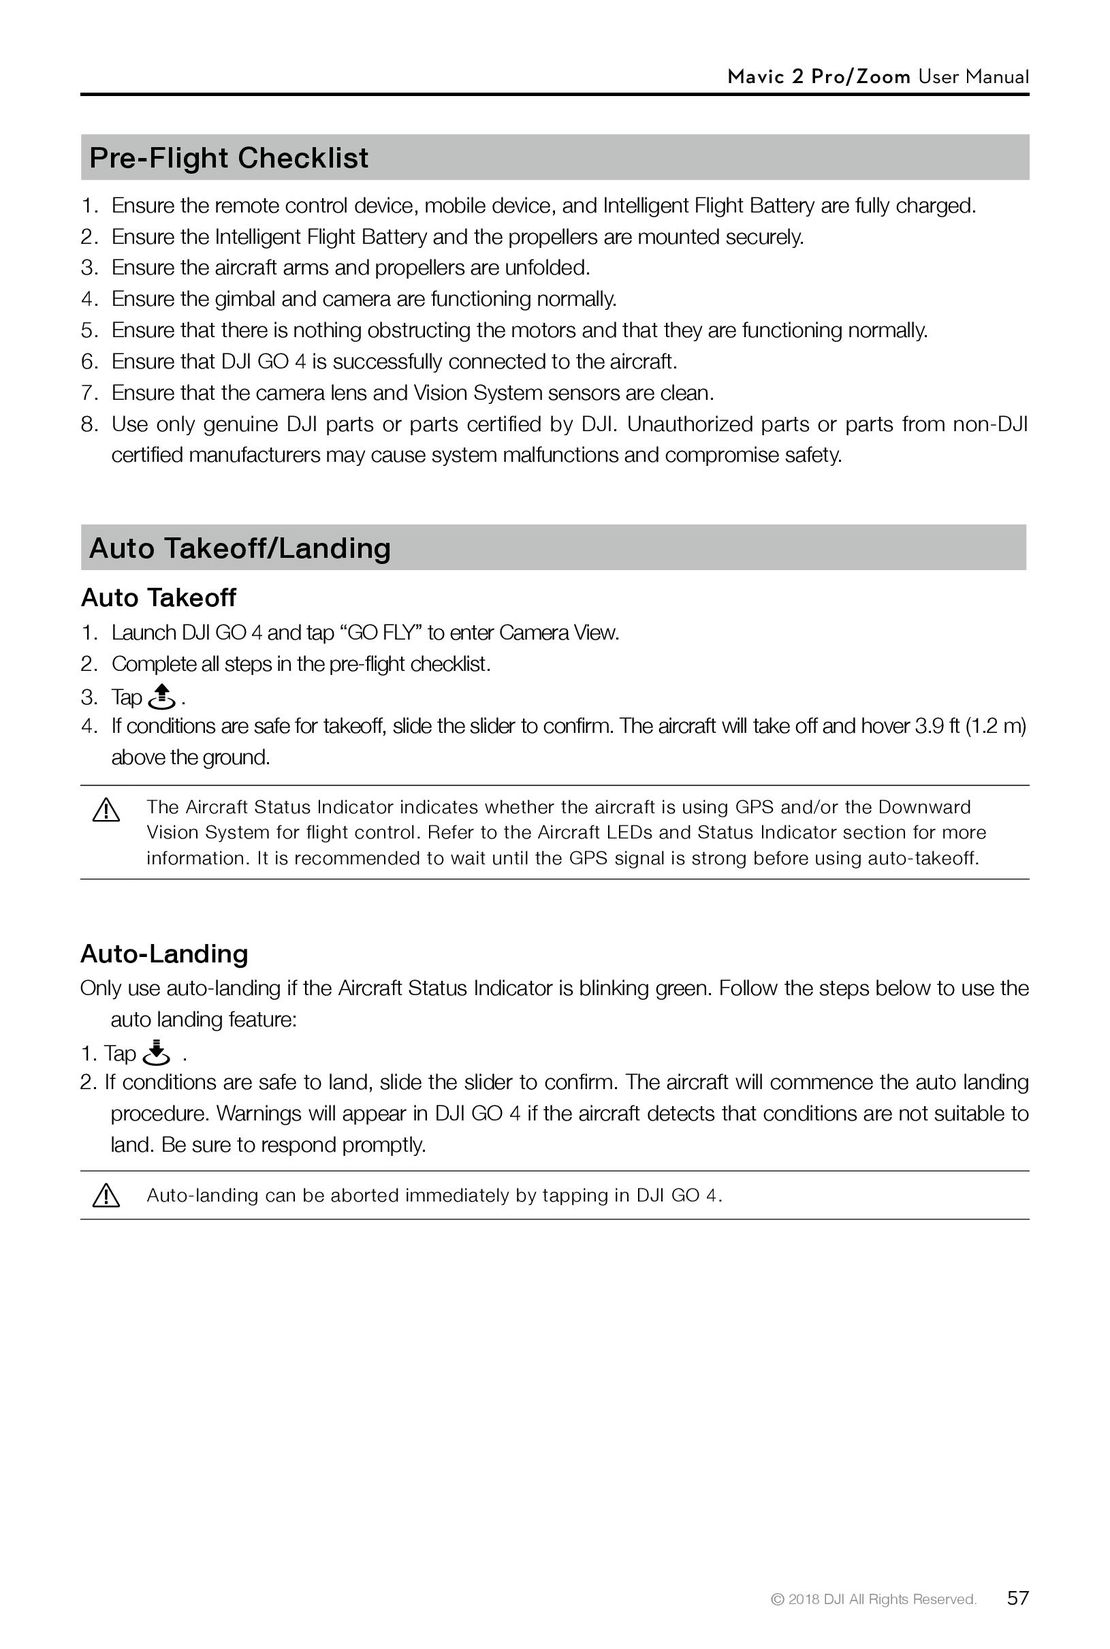
1. Ensure the remote control device, mobile device, and Intelligent Flight Battery are fully charged.
2. Ensure the Intelligent Flight Battery and the propellers are mounted securely.
3. Ensure the aircraft arms and propellers are unfolded.
4. Ensure the gimbal and camera are functioning normally.
5. Ensure that there is nothing obstructing the motors and that they are functioning normally.
6. Ensure that DJI GO 4 is successfully connected to the aircraft.
7. Ensure that the camera lens and Vision System sensors are clean.
8. Use  only genuine  DJI  parts or parts certified     by DJI. Unauthorized parts or parts from non-DJI
   certified manufacturers may cause system malfunctions and compromise safety.
Auto Takeoff/Landing
Auto Takeoff
1. Launch DJI GO 4 and tap “GO FLY” to enter Camera View.
2. Complete all steps in the pre-flight checklist.
3. Tap    .
4. If conditions are safe for takeoff, slide the slider to confirm. The aircraft will take off and hover 3.9 ft (1.2 m)
   above the ground.
       The Aircraft Status Indicator indicates whether the aircraft is using GPS and/or the Downward
       Vision System for flight control. Refer to the Aircraft LEDs and Status Indicator section for more
       information. It is recommended to wait until the GPS signal is strong before using auto-takeoff.
Auto-Landing
Only use auto-landing if the Aircraft Status Indicator is blinking green. Follow the steps below to use the
   auto landing feature:
1. Tap    .
2. If conditions are safe to land, slide the slider to confirm. The aircraft will commence the auto landing
   procedure. Warnings will appear in DJI GO 4 if the aircraft detects that conditions are not suitable to
   land. Be sure to respond promptly.
       Auto-landing can be aborted immediately by tapping in DJI GO 4.
                                                                             © 2018 DJI All Rights Reserved.    57
 52
52 53
53 54
54 55
55 56
56 58
58 59
59 60
60 61
61 62
62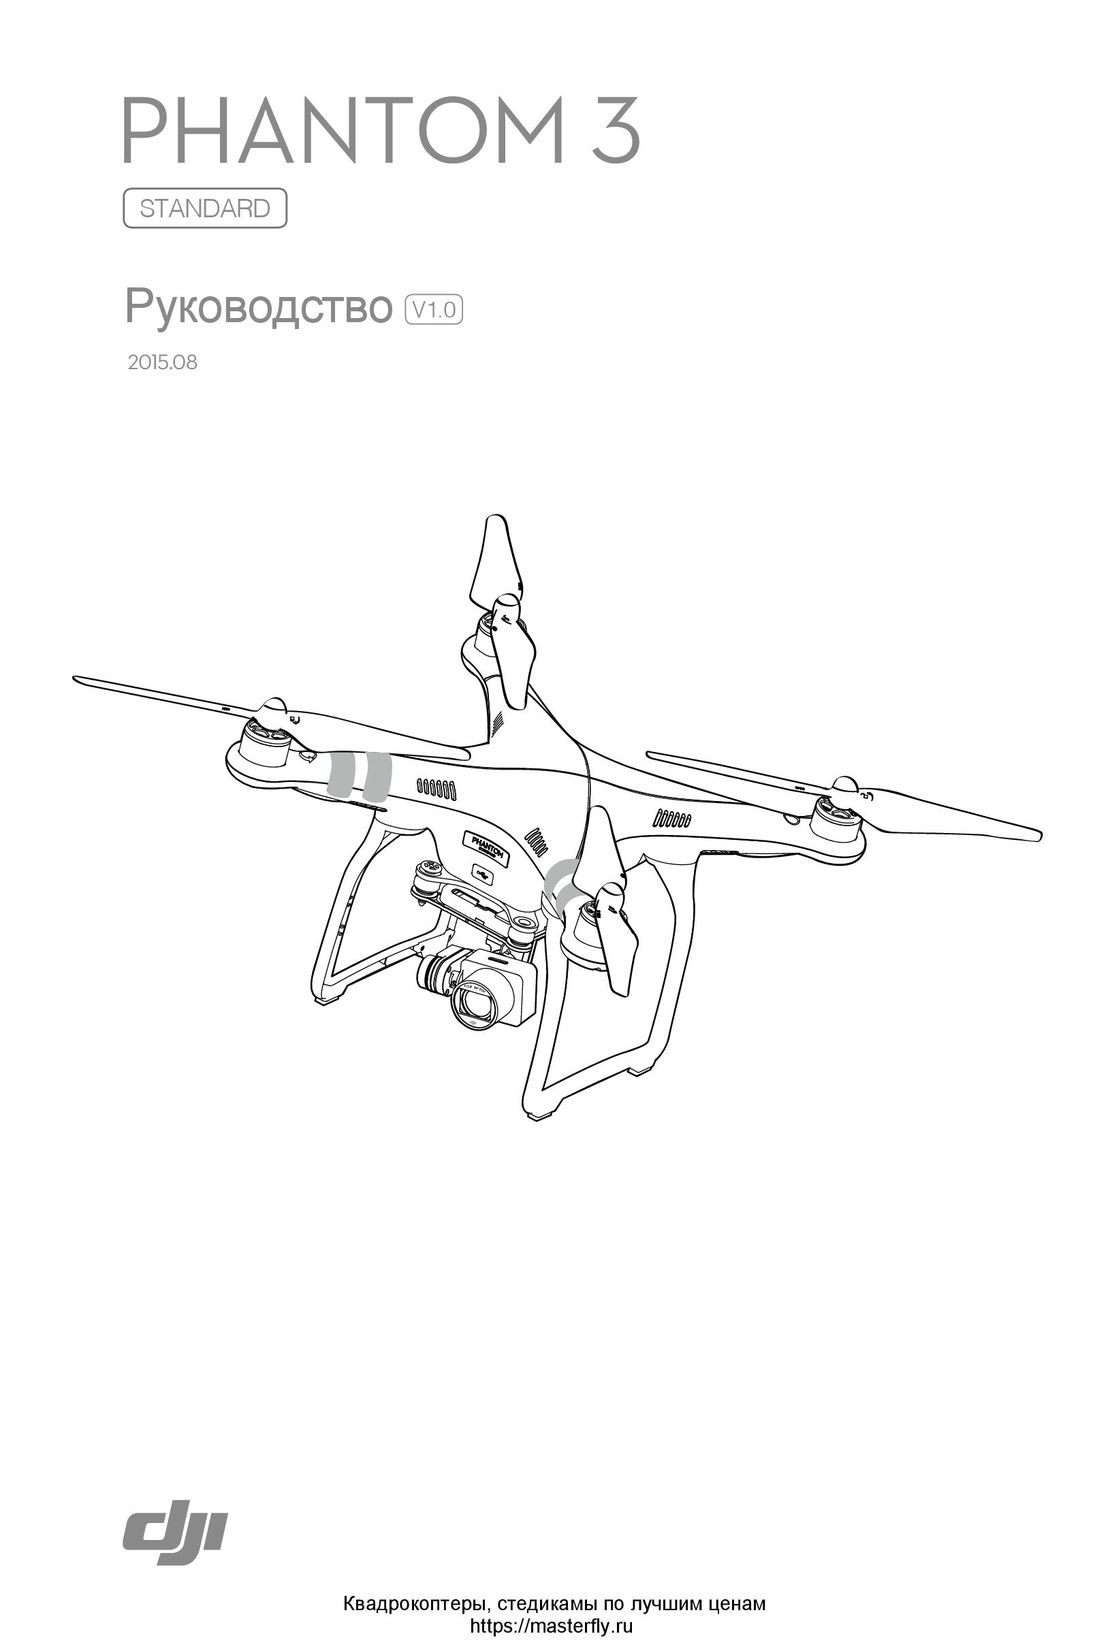 DJI Phantom 3 Standard инструкция на русском
 DJI Phantom 4 Pro Plus инструкция на русском
 DJI Phantom 3 Advanced инструкция на русском
 Syma X54HW X54HC инструкция на русском
 Syma X5UW инструкция на русском
 DJI Mavic Pro и Pro Platinum инструкция на русском