                        And-Go is ON), i.e. the accelerator only works if the scooter is already
    in motion.
5. Mode Button. Press to select various display options:
    MODE                                      COMMENT
    TIME     Time since powering on the scooter.
    TRIP     Distance travelled since powering on the scooter.
    ODO      Total distance travelled.
    VOL      Current battery voltage.
    CH2:00   Charging mode. Time (2 hours) scooter stays ON (overrides auto-switch off) so you can use display’s USB port to charge e.g. your phone.
Detailed P-settings mode. To access P-settings to make various advanced
changes, press POWER [3] and MODE [5] simultaneously for 2 seconds.
Cycle through the P-settings using the MODE button. To select a P-setting
in order to make changes press the POWER button. Change the value (up
or down) using the MODE (Up) and POWER (Down) buttons. To return to
the P-settings menu after changing a value, wait 2 seconds. To return to
operating mode, wait a further 2 seconds. Only
                             P-SETTINGS
 P0   Tire diameter (10 = 10 inch). Do not change.
 P1   Controller shut-down voltage. Default set to 52V (minimum is 48V – werecommend 52V to preserve battery life).
 P2   Motor magnetic pole setting. Default is 40. Do not change.
 P3   Speed signal selection. Default is 0. Do not change.
 P4   Distance / speed unit. 0=km, 1=miles
 P5   Start setting. 1=non-zero start (Kick-and-Go), accelerator won’t work if scooternot in motion; 0=immediate start (CAUTION while using this!)
 P6   Cruise control. 0=cruise control OFF, 1=cruise control ON.
 P7   Initial acceleration. 0=strong, 1=soft.
 P8   Electric (regenerative) braking (E-ABS). 0=E-ABS off, 1=E-ABS on
 P9   Speed limit as % of top speed, i.e. 100=no speed limit.
 PA   Clear total distance travelled (ODO).
 PB   Scooter auto-turn off time in minutes.
 PC   Display brightness (1=low, 3=high)
                                                                                       15

 9
9 10
10 11
11 12
12 13
13 15
15 16
16 17
17 18
18 19
19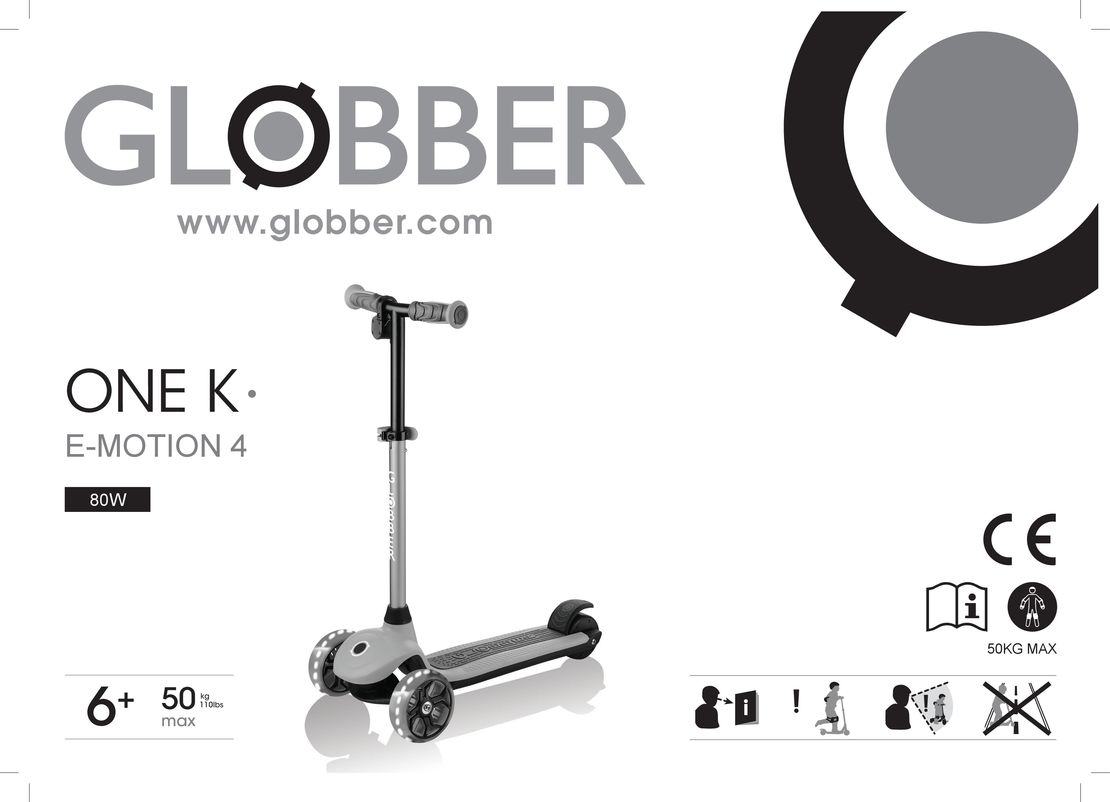 GLOBBER ONE K E-MOTION инструкция на русском
 Razor Power Core E100 инструкция на русском
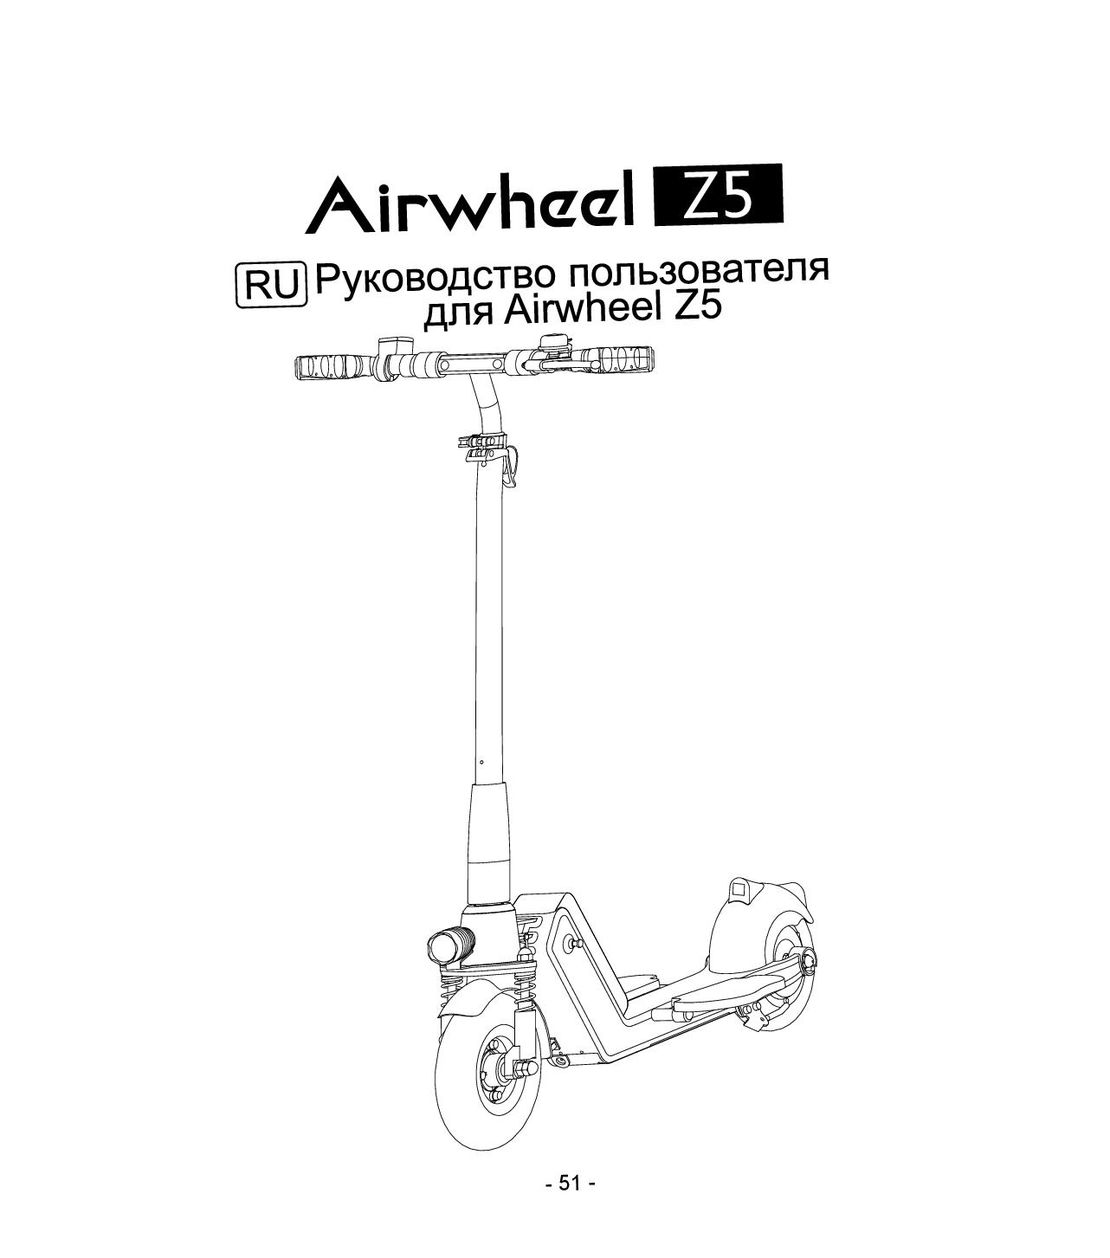 Airwheel Z5 инструкция на русском
 Hoverbot BS-01-02-Pro инструкция на русском
 Halten Lite Plus инструкция на русском